Game two of Bolt Action. This time the force size increased from 400 points to 750 points. The mission rolled was Maximum attrition, (aka kill them all). Both sides opted from themed armies instead of the generic forces.

Rifle squad advance
The opposition opted for Japanese played by Catachans. The force consisted of a 1st lieutenant (LT) with two sidekicks, leading a full strength squad and two ten-man squads with LMGs. The force was supported by a medium mortar with observer, and Artillery observer (AO) and a sniper team.
Facing them was a British force played by Vostroyans. Consisting of a 1st LT with two sidekicks, leading four ten men-rifle squads each with an LMG and two SMGs. The force was supported by a medium mortar with observer, a light mortar, a medic and an AO.

Japanese platoon
The battlefield was a bit dense in terrain (I may have gone a bit overboard on the hedgerows :)).
The Brits won the rolled off and came on from the side with the tallest building. First to arrive were the medium mortar observer and the AO who opted for the high ground. Both sides filtered forwards.

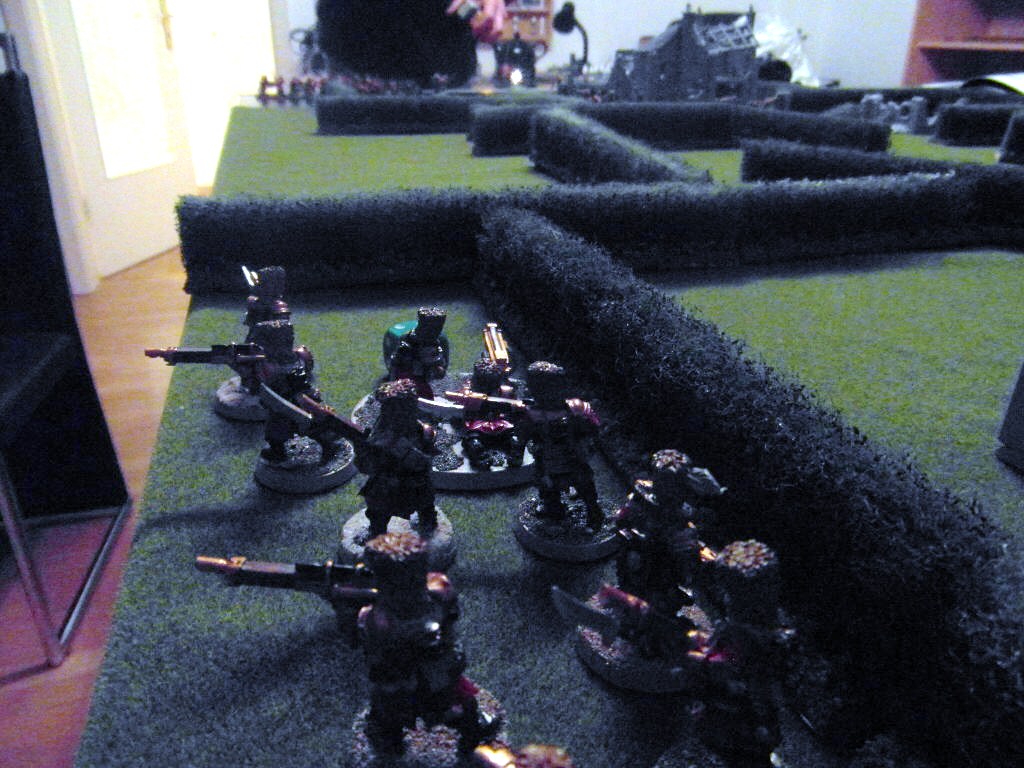
Artillery Observer opts for a better view in a ruin
The British ended up with two squads on one flank. One squad supported by the light mortar in the center and one squad supported by the LT and medic. The Medium mortar and the observer deployed to the rear. The Japanese ended up with one LMG squad facing the two British squad on one flank. The LT and the second LMG squad covered the front with support from the medium mortar, the sniper team and the observers. The large squad faced off against the British LT and his flank.

British initial positions
The initial phase saw both sides move in to position with little firing. The Japanese squad in the Centre opted to hang back while the rest of the force pushed forward. The Japanese LMG squad on one flank misunderstood one of their orders and opted to retreat from the two British rifle squads. The British amusement was cut short when their AO made the wrong call and a British artillery strike hit their own positions.

Japanese moving forward
Then things got very hairy. A Japanese artillery strike hit the British center killing the AO and inflicting multiple pin markers on the squads. The British were forced to spend valuable regrouping in the center. The Japanese took advantage on the delay to switch their large squad into the center and then perform a Banzai charge. Despite the defensive fire, enough men got through to destroy the British rifle squad. In retaliation, a rifle squad from the flanks moved in to the center and destroyed the attacking squad. The Japanese LT then performed his own banzai charge and destroyed the would-be rescuers. Keeping up the momentum he then cut down the light mortar team.

Both sides preparing for a Banzai charge
Facing a mad man with a sword who had just decapitated the mortar team the British LT sensible opted to take out his SMG and shot the swine. This ended the Japanese assault on the British center and pretty much gutted the center forces of both armies. On one flank the Japanese LMG tried to press forward to repeat the banzai charge in the center. However, the squad could not make it past the blocking rifle squad and when the LT arrived the Japanese were destroyed.
With both side center destroyed and one of the Japanese flanks collapsed, the British pressed forward taking sniper fire from a particular inept sniper that either missed or failed to do damage. The British managed to bag the Japanese AO before the game ended.
In the aftermath the result was a draw with both sides in a bad way. I think the Japanese get a morale victory for pulling off a couple of successful Banzai charges.
Rifle squad moves to cover the flank

while their opposition does the same

Japanese sniper and observers take up positions in the ruins

Rifle squad misunderstands its order (double 6 on the green dice) and opts to run away (3 one the yellow). If it had of rolled a 1 or 2 on the yelloer dice it would have fired on its platoon commander at point blank range.

British artillery observer rolls badly and the japanese gets to place the artillery marker (white dice)

Japanese fox bayonetsfor a charge

Japanese pull of an Banzai charge taking ambush fire on the way in.

And over run the British rifle squad

A second rifle squad arrives and destroy the Japanses assualt

Allowing the Brtish to re establish their defence line

British opt to regroup

Japanese platoon commander launches his own Banzai charge and destroys a rflie squad and then follows up by destroying a mortar section.

Another rifle squad is pulled inot the centre to engage the enemy.

With the Japanses attack repelled the bristh commander switches to the flanks to support the next flash point.

The THe Commanders help the flanking rifle squad overcomes its rival and starts to move into Japanese territory
2 comments:
You need to send that spotter off to get glass mate firing on your own guys is never good lol.
unfortuntantly the Japanese spotter was better at his job and blew my spotter to smithereens. You should try the game using some 40K lists it seem to be pretty much a 40K re mixed.
Post a Comment